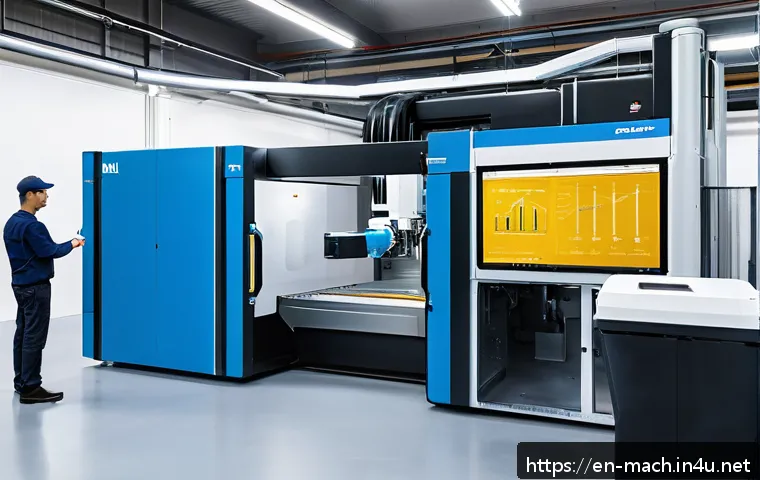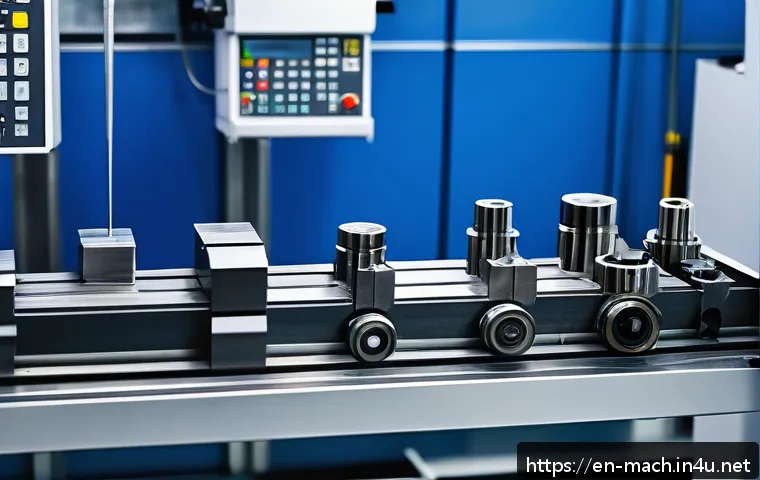
The safest way to approach a machining practical exam is to confirm the local rules first, then work through a disciplined safety, setup, measurement, and inspection routine.
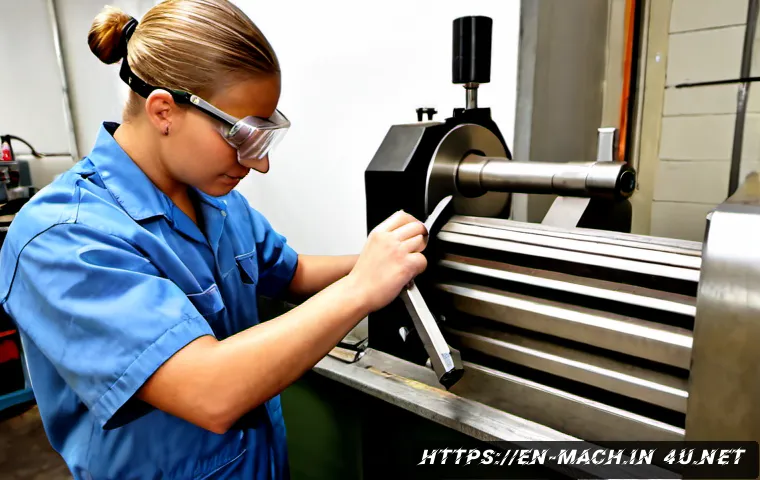
Bring or use only equipment that is permitted, and verify measuring tools before relying on them for final dimensions. A basic set of suitable PPE and clean, dependable measuring tools can be more useful than buying a large collection of accessories.
Candidates with limited machine access may benefit from supervised shop practice or a machining preparation course because setup and inspection habits are difficult to learn from notes alone.
The exact machine, marking criteria, time limit, permitted tools, and tolerance requirements can differ by exam provider and test center. Treat the test-center instructions as the final authority.
At a Glance
- Safety first: secure workholding, remove the chuck key immediately, and check guards, emergency stops, and the work area.
- Measure carefully: clean the part and instrument, then confirm the zero setting before checking critical dimensions.
- Confirm local rules: permitted tools, materials, tolerances, PPE, time allocation, and inspection criteria may vary by test center.
| Item or Option | Best Use Case | What to Check Before Choosing |
|---|---|---|
| Basic shop PPE | Every practical machining candidate | Test-center PPE policy, proper fit, and whether loose items are prohibited |
| Caliper | General external, internal, and depth checks | Clean jaws, smooth movement, visible scale or display, and zero setting |
| Micrometer | Features requiring more controlled precision measurement | Required tolerance, condition of measuring faces, and zero check |
| Indicator | Setup checks such as alignment or concentricity inspection | Whether it is allowed and whether the task actually requires it |
| Supervised practice or prep course | Candidates without regular workshop access or those returning after a break | Machine access, instructor support, practical inspection practice, and exam-rule coverage |
What to Check Before You Start the Practical Test
Confirm the drawing, tolerances, permitted tools, and time allocation
Start with the drawing. Identify the critical dimensions, surfaces, reference features, and stated tolerances before setting up the machine. Confirm which cutting tools, measuring instruments, and materials are permitted. Do not assume that a tool used in training will be allowed in the examination. The available time and inspection method can also affect how you plan the order of operations.
Inspect PPE, machine guards, emergency stops, and the work area
Machine-shop practical exams commonly assess safe setup and correct machine operation, not only the final part. Wear appropriate PPE according to the local rules. Avoid loose clothing, jewelry, unsecured long hair, and gloves near rotating machinery because they can create entanglement hazards. Before starting, check that machine guards, emergency stops, and the work area are in suitable condition for the task.
Set up a simple pre-machining checklist
A short checklist reduces preventable errors. Confirm the drawing, inspect the machine area, secure the workpiece, check tool clearance, review the measuring plan, and verify the allowed equipment. Keep the list simple enough to use under time pressure. A rushed start can create a safety problem or force unnecessary rework later.
Essential Equipment: What to Bring, Borrow, or Verify at the Test Center
PPE choices for a machine-shop environment
Choose PPE based on the test-center policy and the actual shop environment. The key point is not buying the most equipment; it is arriving with compliant, usable equipment and avoiding prohibited loose items. If the center supplies PPE, confirm what is provided and what candidates must bring themselves.
Calipers, micrometers, indicators, and when higher accuracy matters
A caliper is useful for general checks, while a micrometer may be more appropriate when the assigned tolerance requires a more controlled measurement. An indicator can support setup or inspection tasks where alignment or concentricity matters. Before use, inspect every instrument for cleanliness, damage, and zero setting. Higher-precision measuring tools are only worthwhile when they match the drawing, are permitted, and you can use them confidently.
Comparing personal tool purchases with training-center equipment
Before purchasing measuring tools, ask whether the test center provides them and whether personal instruments are allowed. Personal tools can offer familiarity, but shared training-center tools may be sufficient when they are maintained and available for practice. If you are comparing precision measurement tool options, prioritize condition, readability, zero reliability, and suitability for the expected work rather than buying unnecessary items.
Safe Setup and Machining Practices That Prevent Major Errors
Workholding, chuck safety, and tool clearance
Workholding must be secure for the material, operation, and expected cutting forces. Check that the workpiece is held correctly before starting the machine. On a lathe, remove the chuck key immediately after tightening the workpiece. Also check that the cutting tool and holder have adequate clearance throughout the planned operation.
Datum selection, tool setting, speeds, and feeds
Select a clear datum before machining so that subsequent dimensions relate back to a consistent reference. Set tools carefully and review the intended machining sequence before making the first cut. Cutting tools, speeds, feeds, and tolerances can vary by assignment, machine, and provider. Use the instructions supplied for your specific test rather than relying on a single general setting from previous practice.
Avoiding rushed adjustments and unsafe chip removal
Do not make hurried adjustments around moving equipment. Stop the machine when required before checking, adjusting, or clearing the work area. Good housekeeping matters: keep the bench and machine area orderly, and handle chips using the approved shop method. Unsafe chip removal or poor workpiece handling can turn a small production issue into a major exam mistake.
Inspection Steps That Protect Your Final Score
Clean-before-measure rules and zero checks
Clean the measurement surfaces and the relevant area of the workpiece before measuring. Chips, coolant residue, dirt, or burrs can affect the reading. Then check that the caliper, micrometer, or other instrument returns to zero correctly. This simple routine supports more reliable final inspection.
Measuring critical dimensions, concentricity, and surface condition
Measure the features that matter most on the drawing first. Use the instrument that fits the feature and required tolerance. If the task calls for a concentricity or alignment check, use the permitted method and instrument. Also inspect the surface condition visually according to the assignment criteria. Do not treat a single measurement as enough if the feature can vary across its length or circumference.

Handling an out-of-tolerance feature without creating a larger defect
If a feature is outside tolerance, pause before cutting again. Review the datum, the measurement method, and the remaining material. A quick correction can damage an adjacent surface, remove too much material, or create a new error. Where the exam rules allow, recheck the setup and measurement before deciding whether further machining is appropriate.
Preparation Routes for Different Candidate Situations
Candidates with regular access to a workshop
Regular workshop access allows you to practice the full sequence: reading the drawing, securing stock, setting tools, machining, cleaning, measuring, and final inspection. Focus on repeatable routines instead of only trying to machine faster. Practice using the same type of measuring tools and machine controls that are likely to be available at the test center.
Candidates returning after a long break from machining
If you have been away from machining, prioritize safety habits and machine familiarity before attempting complex work. Review workholding, chuck procedures, tool clearance, measuring-tool zero checks, and emergency-stop awareness. A supervised refresher session can be especially helpful when your main concern is rebuilding safe operating habits.
When supervised practice or a paid preparation course may be worthwhile
A paid machining preparation course may be worth considering if you have limited access to a workshop, need structured feedback, or are unsure about inspection routines. Look for practical time on relevant machines, support with measurement and workholding, and clear guidance on checking the current exam rules. A course should help you practice decision-making, not promise a particular result.
Selection Criteria and Comparison Summary
Use these checks before deciding whether to buy tools or book supervised practice:
- Is the item permitted by the test center?
- Does the required tolerance justify a caliper, micrometer, or indicator?
- Will you use the tool repeatedly for training or future machining work?
- Do you already have reliable access to safe, supervised machine time?
- Do you need feedback on workholding, datum selection, tool offsets, or final inspection?
Choose personal measuring tools when permitted equipment, repeat use, and familiarity justify the purchase. Choose shared workshop access when you mainly need machine time. Choose instructor-led preparation when safety, setup, and inspection feedback are the main gaps. Check the official exam information or the training provider’s detailed conditions before booking a course or purchasing equipment.
Final day-before-exam checklist
Review the current instructions, confirm what you must bring, inspect permitted measuring tools, prepare compliant PPE, and plan how you will read the drawing before operating the machine. Confirm transport and arrival arrangements separately so that you can begin the practical task focused and organized.
In Closing
A machining practical exam rewards controlled habits: safe setup, secure workholding, careful measurement, and a clean final inspection. The most expensive tool is not always the best choice. A permitted, clean, correctly zeroed instrument that suits the required tolerance is more valuable than extra equipment you do not need. Confirm local requirements early, then practice the same method from setup through final measurement.
Useful Information
1. Remove a chuck key immediately after tightening a workpiece. 2. Keep loose clothing, jewelry, long hair, and gloves away from rotating machinery. 3. Clean both the workpiece and measuring instrument before checking dimensions. 4. Inspect guards, emergency stops, and housekeeping conditions before starting. 5. Use the assigned drawing and test-center instructions as the final reference.
Important Notes
Exact requirements may differ by exam board, machine type, test center, and assigned workpiece. This includes permitted materials and tools, PPE policy, time limits, tolerances, surface-finish expectations, inspection criteria, and whether candidates must provide their own equipment. Verify the current rules directly with the relevant exam provider or test center before making purchases or final preparation plans.
Frequently Asked Questions
Q1. What safety equipment is usually needed for a machining practical exam?
A1. Requirements vary by test center. In general, candidates should follow the local PPE policy and ensure that clothing, hair, jewelry, and other items do not create an entanglement hazard near rotating machinery. Confirm whether the center provides PPE or expects candidates to bring it.
Q2. Should I buy my own caliper and micrometer before a practical machining test?
A2. First confirm whether personal measuring tools are allowed and whether the center provides suitable instruments. A caliper is useful for general measurement, while a micrometer may be appropriate when the required tolerance calls for it. Check cleanliness, damage, and zero setting before relying on any tool.
Q3. Is a paid machining preparation course worth the cost for candidates with limited workshop access?
A3. It may be worthwhile when you need supervised machine time, feedback on safe setup, or structured practice with workholding and inspection. Compare course access to relevant machines, practical measurement support, and guidance on current exam requirements before deciding.